
You don’t need a $1,000 hip thrust machine to train glutes properly. Here’s a complete home setup for less than the cost of one commercial gym membership year.Glute training has quietly become one of the most searched fitness topics of the last few years, and the equipment marketed around it hasn’t been cheap. Commercial hip thrust machines and glute-specific rigs can run well past $1,000, which puts them out of reach for most home gyms.
The good news: the muscles that make hip thrust machines effective — resistance under load, a stable pivot point, and full hip extension — can be replicated with a handful of compact, inexpensive tools. Below is a complete budget glute station you can build for under $150, plus how to use each piece so you’re not just collecting equipment that sits in a corner.
Table of Contents
Why You Don’t Need a Commercial Glute Station
Commercial hip thrust machines exist mainly to solve two problems: comfort under heavy barbell load, and consistent range of motion across many users. Neither of those is unique to an expensive machine. A padded thrust bench, a barbell pad, and a stable surface solve the comfort problem. Consistency comes from your own form, not the machine.
What actually drives glute hypertrophy is progressive tension across a full range of motion — through hip thrusts, bridges, and resisted abduction work — not the brand or price of the equipment delivering that tension.
Quick answer: A functional home glute station needs four things: a stable elevated surface for hip thrusts, a way to load resistance (bands or a barbell), a way to pad bony contact points, and an anchor point for banded and cable-style movements. All four fit comfortably under a $150 budget.
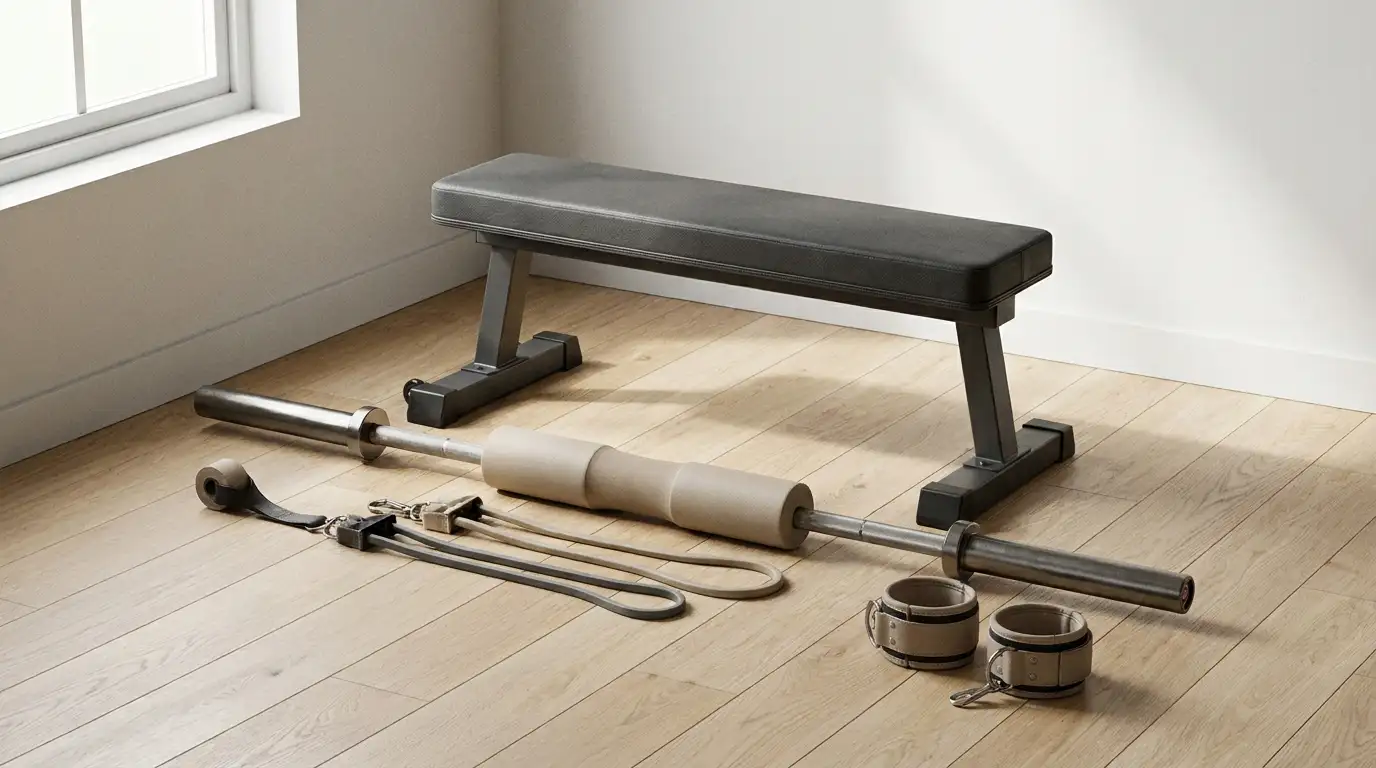
The Complete Budget Glute Station: What to Buy
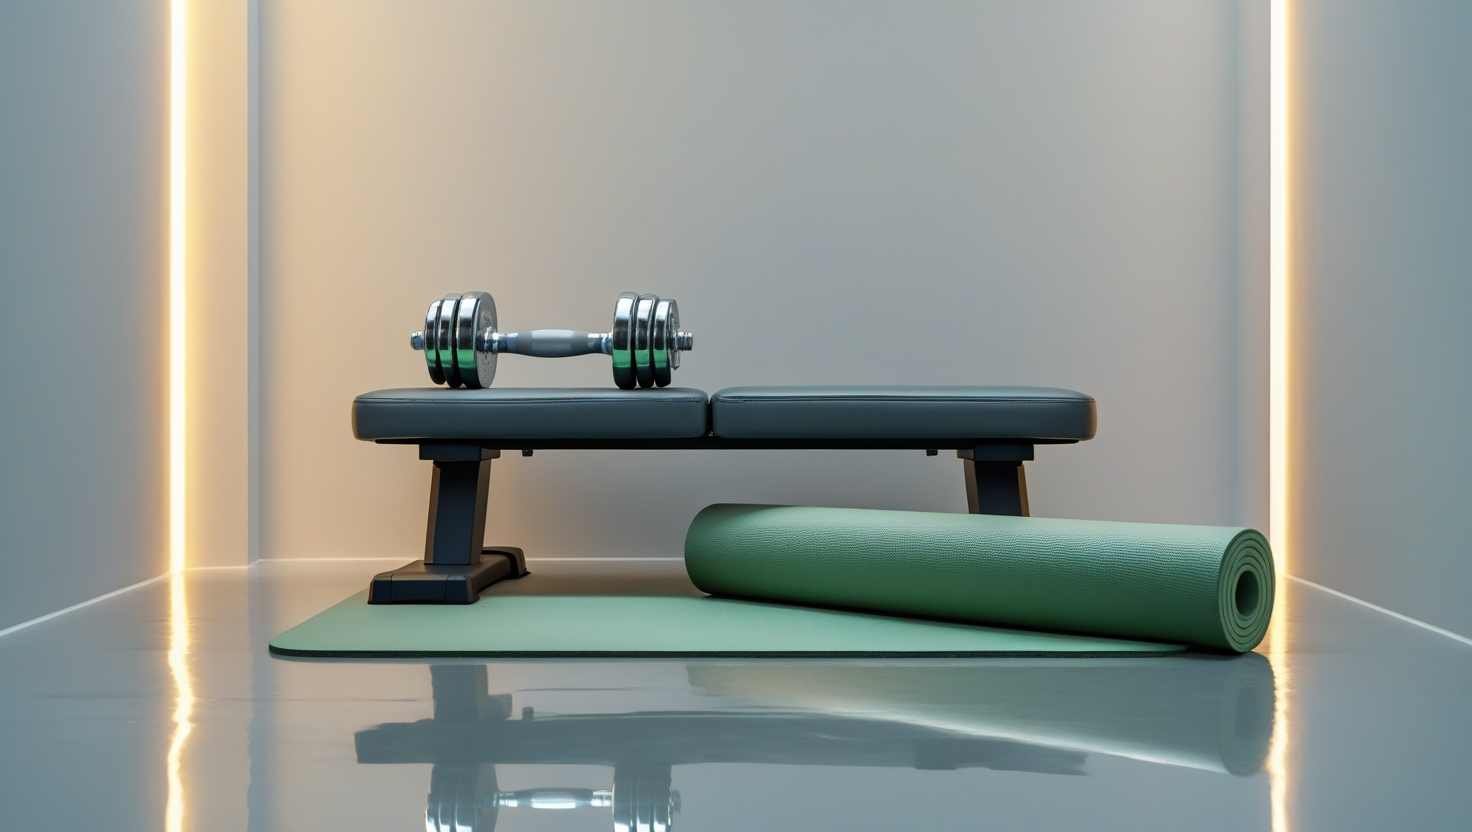
1. Compact Hip Thrust Bench — ~$60–75
This is the anchor piece of the setup. Look for a bench specifically rated for hip thrusts rather than a generic flat bench — the difference is usually a lower profile, a wider footprint for stability, and padding positioned for shoulder contact rather than a full-body lie-down. A compact, foldable version is worth the small premium if floor space is limited, since it stores flat against a wall.
What to check: weight rating (look for at least 300 lbs to leave room for barbell load), footprint stability, and whether it folds for storage.
2. Heavy-Duty Booty Bands with Door Anchor — ~$20–30
A set of fabric or heavy-duty rubber resistance bands with a door anchor kit covers abduction work, lateral walks, and banded bridges — movements a hip thrust bench alone doesn’t train. Fabric bands tend to outlast rubber loop bands for glute-specific work because they don’t roll or pinch under repeated hip movement.
What to check: a range of resistance levels in one set, and a door anchor rated for repeated tension rather than a single flimsy strap.
3. Barbell Hip Thrust Pad — ~$20–25
If you already own a barbell, or plan to add one later, a dedicated thrust pad is non-negotiable. Loading a bare barbell across your hips is genuinely painful and will limit how much weight you can use long before your glutes are the limiting factor. A thick, contoured foam pad distributes pressure and lets you actually train at the resistance your muscles can handle.
What to check: pad thickness (thin pads still bruise under heavier loads) and a strap or clip that keeps it from sliding during the set.
4. Ankle Cable Straps — ~$10–15
Paired with the resistance bands and a door anchor, ankle straps convert your band set into a makeshift cable machine for glute kickbacks and standing hip extensions — two of the more effective isolation movements for glute development. Look for padded, adjustable straps with a metal D-ring rather than a plastic clip, which wears out fast under repeated tension.
What to check: ankle padding for comfort and a metal (not plastic) attachment ring.
5. Optional: Loop Resistance Bands for Warm-Ups — ~$10
A basic set of fabric loop bands for glute activation work before your main sets isn’t essential, but it’s inexpensive insurance against training glutes with cold, under-activated muscles, which tends to shift load to the lower back and hamstrings instead.
Budget Glute Station Shopping List
| Item | Approx. Cost | Primary Use |
|---|---|---|
| Compact hip thrust bench | $60–75 | Weighted and bodyweight hip thrusts |
| Heavy-duty booty bands + door anchor | $20–30 | Abduction, lateral walks, banded bridges |
| Barbell hip thrust pad | $20–25 | Comfort under barbell load |
| Ankle cable straps | $10–15 | Kickbacks, standing hip extension |
| Loop bands (optional) | $10 | Warm-up and activation |
| Total | $120–155 | — |
How to Use the Station: A Simple Weekly Routine
Owning the equipment is the easy part. Here’s a straightforward way to put it to work twice a week without needing a separate program.
Sample Glute Station Session
- Warm-up: 2 sets of banded lateral walks, 15 steps per side
- Main lift: Barbell or banded hip thrusts on the bench, 4 sets of 8–12 reps
- Isolation: Ankle-strap cable kickbacks, 3 sets of 12–15 per leg
- Accessory: Banded glute bridges off the bench, 3 sets to near-fatigue
- Finisher: Standing banded hip abduction, 2 sets per side to fatigue
Progression matters more than novelty here. Add resistance band tension, barbell weight, or reps before adding new equipment — a common mistake is buying more gear instead of progressively loading what’s already on hand.
Common Mistakes to Avoid
- Skipping the hip thrust pad. Training around bar discomfort by using lighter weight than you’re capable of stalls progress.
- Buying a flat bench instead of a hip-thrust-specific one. A standard flat bench is often too tall, which limits range of motion and shifts strain to the lower back.
- Using worn-out loop bands. Rubber bands lose tension and snap risk increases with age; replace them every few months of regular use.
- Neglecting the anchor point. A door anchor rated for light stretching won’t hold up to repeated glute-specific tension; check the weight rating before buying.
Key Takeaways
- A functional home glute station costs $120–155 and covers thrusting, banded, and cable-style movements.
- The hip thrust bench is the anchor piece — prioritize stability and weight rating over extra features.
- A barbell thrust pad isn’t optional once you’re loading a bar; bar discomfort limits progress before your glutes do.
- Ankle straps plus a door anchor turn resistance bands into a functional cable-machine substitute.
- Progressive resistance matters more than equipment variety — load what you have before buying more.
The Bottom Line
A commercial glute station isn’t what makes hip thrusts effective — stable support, adequate resistance, and full range of motion are. Put together, this $120–155 setup delivers all three without the four-figure price tag or the dedicated gym membership, and it stores small enough to fit in most apartments.
Frequently Asked Questions
Can you build real glute strength without a hip thrust machine?
Yes. A padded bench, resistance bands, and a barbell (if available) provide the same core mechanism — loaded hip extension through a full range of motion — that a commercial machine offers.
Is a hip thrust bench different from a regular flat bench?
Yes. Hip-thrust-specific benches sit lower and have a wider, more stable base designed for shoulder contact during thrusts, while a standard flat bench is typically too tall for proper form.
Do I need a barbell for this setup to work?
No. Heavy-duty resistance bands can provide sufficient tension for hip thrusts and bridges on their own, especially for beginner to intermediate lifters; a barbell simply extends how much load you can add over time.
How often should I train glutes with this setup?
Two focused sessions per week, with at least one rest day between them, is generally enough to drive progress for most home lifters when paired with progressive resistance.
What’s the single most important piece of equipment on this list?
The hip thrust bench. It enables proper form and range of motion for the main compound movement the rest of the station supports.